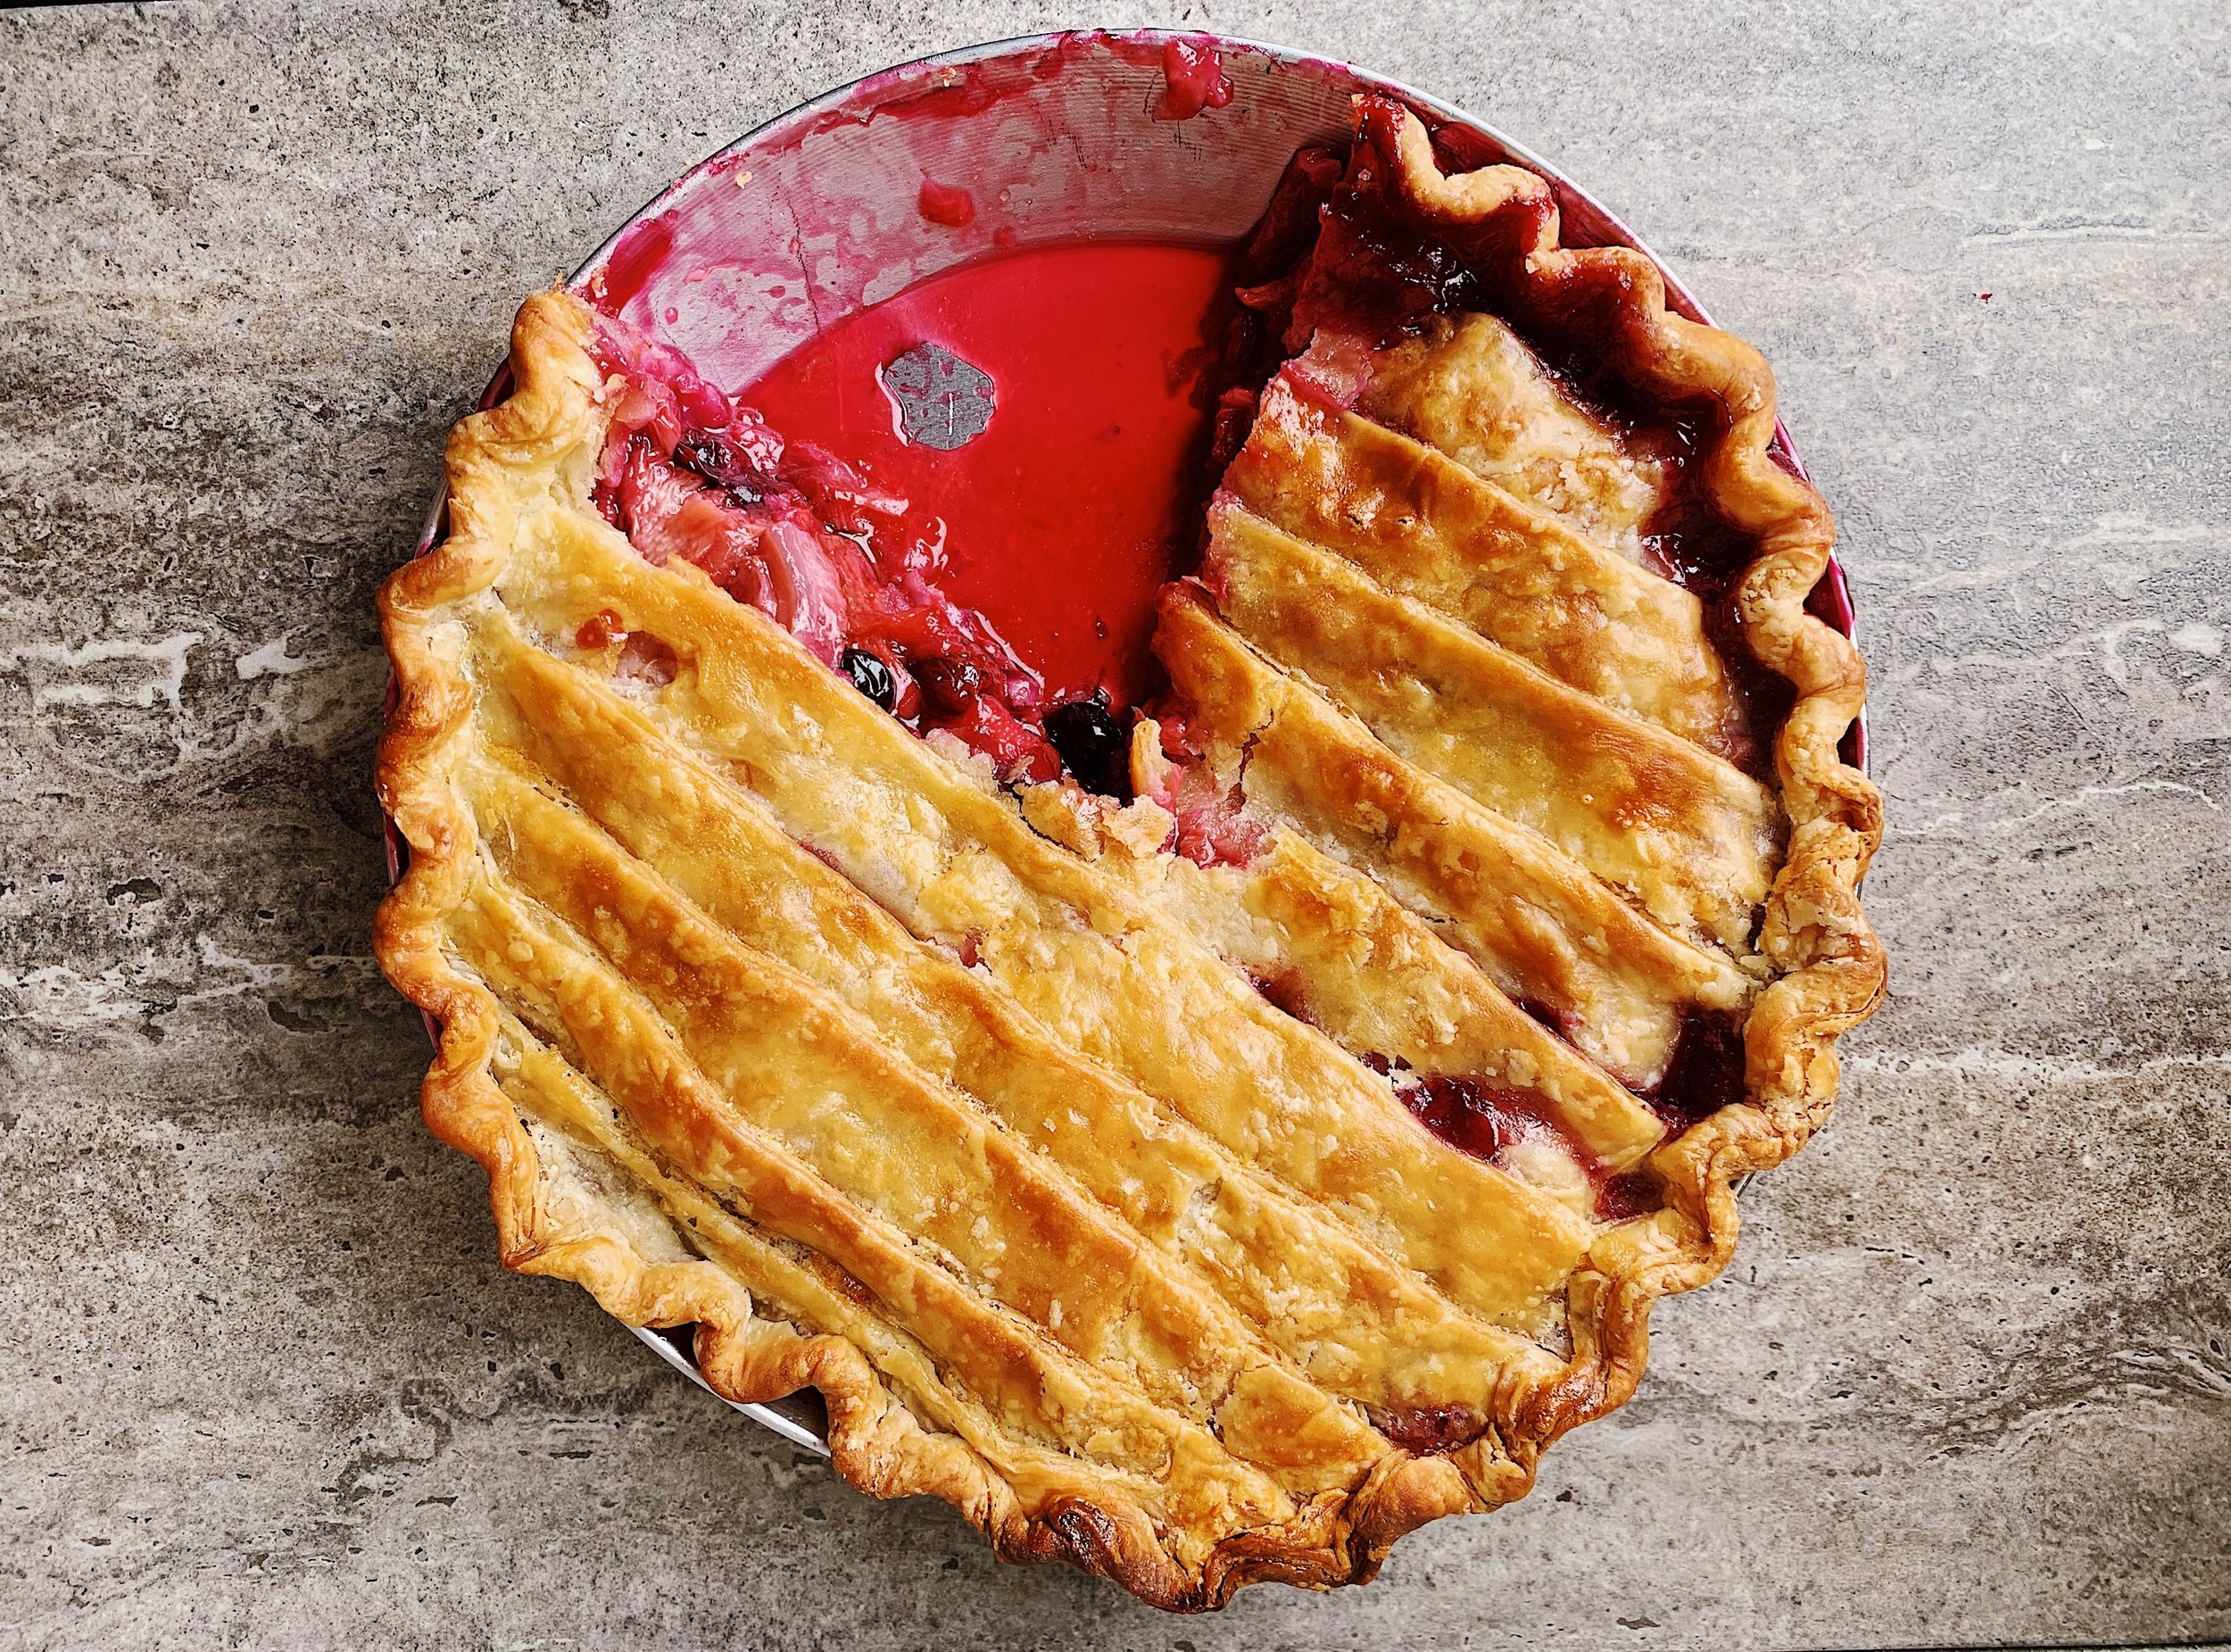
Berry Rhubarb Pie
Some beautiful rhubarb!
Happy May everyone! Spring keeps getting better here in Los Angeles, where rhubarb is still readily available, even at crappy grocery stores. Some of my friends in NYC have complained they haven’t been able to find any yet, which breaks my heart... Fingers are crossed for all of the affected.
I’ve been wanting to publish a pie recipe for a while now, and nothing could be more fitting for early May than a tangy berry rhubarb pie. Fruit pies are my absolute favorite! I try to use what I consider to be a minimal amount of sugar in my pies, and usually don’t add too many fussy ingredients. I used to stress a lot about the appearance of my pies, spending way too much time fussing with the dough and actually overworking it in the process... As I get older I care less and less about this. I just want good flavor and a proper bake.
My main concern when baking a fruit pie is avoiding a soggy bottom, which used to plague almost all of my pies in the beginning of my baking career. Nothing is more disappointing than not being able to get a clean slice from your pies. As mentioned in my Rhubarb & Tahini Blondie recipe, rhubarb has a dramatically high water content around 95%. The soggy bottom that is attempting to destroy your pie will pull in all of that water if you don’t do something about it! To avoid pie heartbreak, we’re going to help the rhubarb shed some of that water by macerating it in part of the sugar and a pinch of salt for 15 minutes. Preferably 30 minutes if you can wait! Waiting is always worth it, y’all.
PSA: cool before you slice!
Recipe Notes: Tapioca starch is used in this recipe instead of cornstarch, something I learned while baking tons of pies at Bakeri. If you don’t have tapioca, you can substitute cornstarch, but I much prefer tapioca in this type of application. A filling with tapioca starch will look more glossy than one made with cornstarch, and also taste better (imho). Lastly, I’m including a pie crust recipe on this post, but I plan on going much more in depth in a future piece only about the magical pâte brisée.
Berry Rhubarb Pie
Makes 1 double-crusted 9-inch pie
For the crust:
2 1/2 cups all purpose flour
1 1/2 sticks butter, cubed and chilled (170g)
1/2 cup water
2 tbsp vodka (or 2 tbsp water)
Pinch salt
For the filling:
4 1/2 cups rhubarb (about 2 pounds before trimming)
1 cup strawberries, sliced
1 cup blueberries
1 cup white sugar, divided (1/4 cup + 3/4 cup)
2 1/2 tbsp tapioca starch
Pinch salt
Egg wash: 1 egg +1 tbsp water + small pinch salt, mixed well
1. To make the crust: follow my pie crust recipe, listed here.
2. Remove both ends of the rhubarb stalks and slice into 1/2” pieces on a bias. Place in a large bowl with 1/4 cup of the sugar and a pinch of salt. Allow to macerate for 15 to 30 minutes: the longer the better!
3. Drain the rhubarb liquid and add the rhubarb back to the bowl. Toss with the blueberries, strawberries, remaining 3/4 cup of sugar, and another small pinch of salt.
4. Evenly sprinkle the tapioca starch on all of the fruit and stir to coat.
5. Fill a lined pie pan and attach the top of the pie. Seal the two crusts together by pinching, then trim any excess and crimp the edges. Freeze the pie for at least 20 minutes before baking. While chilling, preheat the oven to 400º F and place a rack in the center of the oven. If you have a pizza/baking stone, place it in the oven now.
6. Remove the pie from the fridge and egg wash the center of the pie, but not the edges. Place the pie on a baking sheet and then in the oven directly on the stone. Bake for 40 minutes, then lower the temperature to 375º for the final 20-30 minutes. The pie is done when it is nicely browned and the filling is bubbling.
7. Cool the pie for at least 2 hours before slicing, or it will fall apart! Serve with whipped cream or ice cream if desired. Store at room temp for 1 - 2 days.
Be sure to tag #alexanderbakes or @alexanderbakes if you try this recipe! :)


